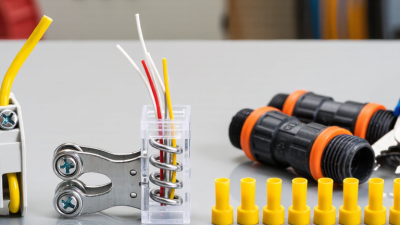
Top 10 Wire Connector Types and How to Choose the Right One

Top 10 Wire Connector Types and How to Choose the Right One

A wire connector may look like a small part, but it plays a major role in a reliable electrical connection. Choosing one involves more than matching wire ends. Wire gauge, conductor material, current, voltage, and installation conditions all matter. A connector rated for solid copper may not suit stranded wire or aluminum conductors. Small details matter. A crowded junction box can limit access, while vibration or moisture may call for a different connection method. And a neat-looking splice is not always a sound one. That is easy to overlook.

This guide explores ten common wire connector types, including twist-on, push-in, lever, crimp, and terminal-block designs. It explains where each type is commonly used and what to check before making a choice. Compare the connector’s listed ratings with the wire and application, then follow the manufacturer’s instructions for strip length, insertion, and required tools. Disconnect power and verify the circuit is de-energized before working. A connection that seemed fine yesterday may still deserve a closer look. No single connector fits every job; sometimes the simplest option is not the best one.
Top 10 Wire Connector Types and How to Choose the Right One

The 10 Main Wire Connector Types and Their Typical Uses

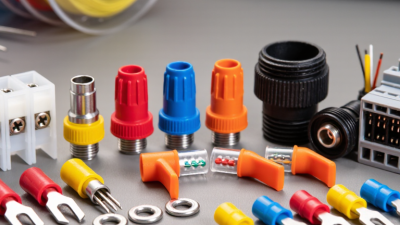
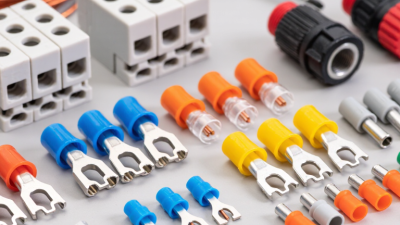
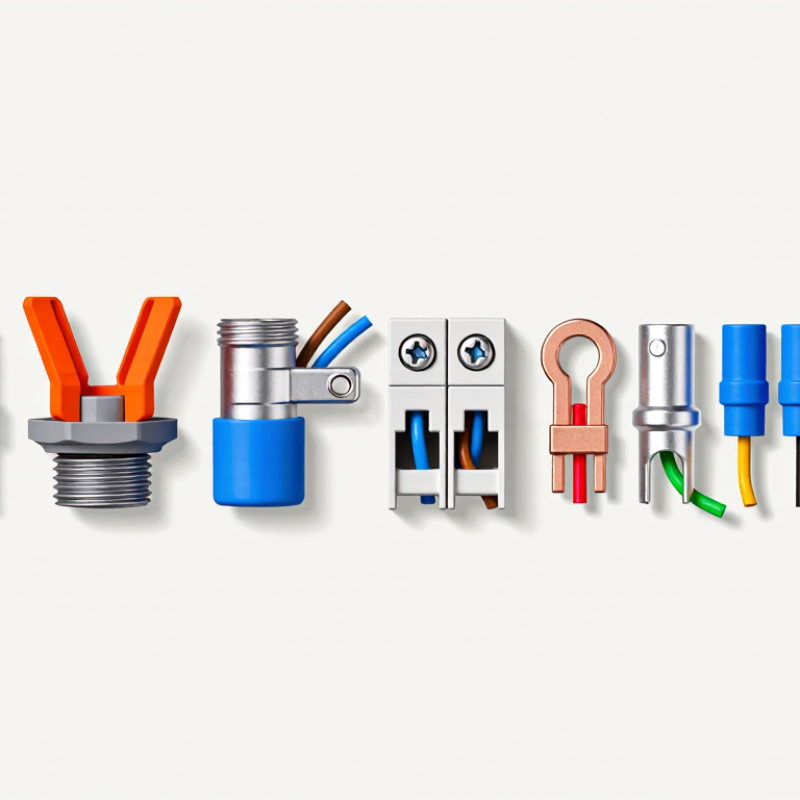
Wire connectors suit different tasks. Twist-on connectors join solid or stranded wires inside junction boxes, while push-in connectors accept prepared wire ends for quick, compact installations. Lever connectors make changes easier when conductors need repositioning. Crimp butt connectors join two wires end to end, often in vehicle or appliance repairs. Ring terminals fasten a wire securely beneath a screw or stud. Fit matters.

Spade terminals also attach under screws, but their open shape allows faster removal. Blade connectors create a simple plug-and-tab connection, common in equipment wiring. Bullet connectors pair male and female contacts for detachable wire runs. Terminal blocks hold several conductors in an organized row, useful in control panels. Heat-shrink sealed connectors cover crimped joints and help protect them from moisture. They are not interchangeable.

Choose by wire gauge, conductor material, current rating, environment, and whether the joint must be removable. Check the connector’s marked specifications, not just its appearance. A connector that feels tight may still be poorly crimped. Strip only the specified length, use the matching tool, and inspect the finished joint. Disconnect power and verify it is off before working. Small details matter; installation instructions can vary.

How Connector Design and Materials Affect Performance

Top 10 Wire Connector Types and How to Choose the Right One

Connector design and materials shape how safely a joint carries current, resists heat, and withstands vibration. A spring clamp grips conductors quickly, while a screw terminal relies on controlled tightening. Contact pressure matters. Too little can raise resistance; too much may damage stranded wire. That small detail is easy to overlook.

Material choice also affects electrical performance. The Copper Development Association’s Copper Facts reference lists copper at 100% IACS conductivity and aluminum at about 61% IACS. This difference can affect conductor sizing and connector selection. Aluminum connections also need compatible contact surfaces and careful preparation to limit oxidation. IEC 60512 describes tests for connector contact resistance, temperature rise, and mechanical performance. These are useful checks, though real installations can still vary with wire condition and workmanship.

Tips: Match the connector to the conductor material, wire gauge, and environment. Check temperature and vibration ratings, not just current capacity. Strip only the specified length; exposed strands can touch nearby terminals. Use the recommended tool and tightening method. If a connection feels warm in service, inspect it rather than assuming the connector is at fault. A little humility helps: installation details are not always obvious.

Top 10 Wire Connector Types and How to Choose the Right One — How Connector Design and Materials Affect Performance

Connector choice depends on conductor material, wire size, solid or stranded construction, current and voltage requirements, installation conditions, and applicable electrical codes. Ratings and permitted wire combinations vary by product; always check the connector’s listing and instructions.

Connector Type How It Connects Typical Design and Materials Common Uses How to Choose Key Considerations
Twist-on wire connector A threaded internal spring grips joined conductors as the insulated cap is twisted into place. Usually a polymer insulating shell with a metal spring insert. Splicing conductors in junction boxes and building wiring where the connector is listed for the application. Confirm the listed conductor sizes, number of wires, conductor materials, and solid or stranded combinations. Requires the correct strip length and a secure installation. Do not assume one connector fits every wire combination.
Push-in spring connector A conductor is pushed into a port, where a spring contact holds it against a conductive bus. Insulating polymer housing with a spring contact and conductive metal bus, commonly copper alloy. Compact splices and fixture connections, often with solid conductors when permitted by the product listing. Check the approved wire gauge, conductor type, number of ports, and whether the connector is rated for the circuit. Many designs have limits on stranded-wire use. The conductor must be stripped to the specified length and fully inserted.
Lever-operated spring-clamp connector A lever opens a spring clamp; closing it secures the conductor without a screw. Insulated housing with spring-clamp contacts and conductive metal components. Reusable or serviceable splices in junction boxes, lighting, and equipment wiring when listed for the use. Choose a model whose markings cover the conductor size, solid or stranded wire, and number of conductors. Lever operation can simplify inspection and removal, but does not replace checking the connector’s ratings and installation instructions.
Screw terminal block A screw presses a conductor, ferrule, or terminal against a conductive bar or clamp. Typically an insulating block with copper-alloy or brass conductors and steel or plated-metal screws. Control panels, equipment, and distribution connections designed for terminal blocks. Match wire size, conductor type, voltage and current ratings, spacing, and the specified tightening torque. Over- or under-tightening can impair the connection. Fine-stranded wire may require an approved ferrule or terminal method.
Crimp butt splice Two wire ends enter opposite ends of a metal sleeve, which is compressed with a compatible crimp tool. Conductive barrel commonly made from copper or copper alloy; insulated versions use a polymer sleeve. In-line repairs and harness connections where a permanent splice is appropriate. Match the barrel to conductor material and size, insulation needs, environment, and the specified crimp-tool profile. A correct crimp depends on the matched connector and tool. A crimp connection is not automatically waterproof or corrosion-proof.
Ring terminal A crimped barrel attaches to a wire; the ring is secured under a screw or stud fastener. Usually a copper or copper-alloy tongue, often plated, with an insulated or uninsulated barrel. Grounding, battery, and equipment connections where a bolted or stud-mounted termination is specified. Match the conductor range, stud diameter, terminal material, and environmental protection to the application. The fastener must be tightened as specified. A ring can remain captured if the fastener loosens, but it still requires a sound crimp and secure mounting.
Spade (fork) terminal A crimped wire barrel connects to a fork-shaped tongue that fits beneath a screw head. Typically a copper or copper-alloy terminal, available with insulation or as a bare terminal. Equipment terminals where the connection must be removed without fully removing the screw. Check wire size, screw size, terminal width, and whether the equipment terminal accepts a fork tongue. Unlike a closed ring, the fork can slip free if the screw is loose or the terminal geometry is unsuitable.
Quick-disconnect blade terminal A flat male blade mates with a matching female receptacle for a separable connection. Commonly copper-alloy contacts with a protective metal finish; insulated and uninsulated versions are available. Appliances, automotive harnesses, and equipment designed for blade-style terminals. Match blade width and thickness, wire range, contact style, current rating, and the mating terminal. Compatibility and contact retention matter. Use a suitable crimp tool and provide environmental protection where needed.
Insulation-displacement connector (IDC) A shaped contact cuts through or displaces insulation to make contact with the conductor, often during insertion or tool closure. Insulating body with sharp conductive metal contacts; designs are made for specific conductor types and sizes. Telecommunications, data, and other wiring systems designed for the particular IDC connector. Use only with the specified wire gauge, conductor construction, insulation, and application; follow the required insertion method. Not a general-purpose replacement for a listed power-wiring splice. Contact geometry must match the conductor and insulation.
Gel-filled moisture-resistant connector A spring or crimp connection is enclosed with sealing gel to help limit moisture entry. Insulating polymer housing with conductive contacts and a gel sealant; construction varies by product. Outdoor or damp-location connections, including some low-voltage landscape and communications applications. Verify the wet-location or direct-burial rating, conductor compatibility, voltage, wire range, and permitted installation conditions. Gel filling alone does not establish a particular water-resistance rating. Use only where the connector’s listing permits it.

Selection rule: Treat the connector’s markings and instructions as authoritative. Never mix conductor materials or use a connector outside its listed wire range, electrical rating, or environmental rating. De-energize circuits before installation and follow applicable codes.

How to Match a Connector to Wire Size and Conductor Material

Top 10 Wire Connector Types and How to Choose the Right One

Matching a connector to wire size starts with the wire’s gauge and construction. Check the connector’s marked range, then confirm every wire fits that range. A loose fit can expose copper or pull apart under a gentle tug. An oversized connector may not grip smaller conductors securely. Wire nuts, push-in connectors, lever connectors, and crimp terminals each accept specific wire sizes and types. Do not assume they are interchangeable.

Tips: Strip only the length specified on the connector. Keep insulation outside the contact area, and inspect for stray strands before closing the connection. A careful tug test can catch a weak fit.

Conductor material matters just as much. Many connectors are designed for copper only; aluminum wire requires a connector specifically rated for aluminum or both metals. Copper and aluminum should not share a connector unless its instructions explicitly allow that combination. Match solid wire with a connector approved for solid conductors, and check stranded-wire compatibility too. Fine strands can spread or fold back in connectors not designed for them. I still double-check the markings, even when a connector looks like the right size. Appearance can be misleading. When uncertain, consult the connector instructions and use the specified installation tool.

How to Choose a Connector for the Application and Environment

Choosing a wire connector starts with the conductors, not the connector’s appearance. Check wire gauge, solid or stranded construction, and conductor material. A connector must accept the exact combination and carry the circuit’s expected current and voltage. Fit matters. A loose connection can heat up under load, while an oversized connector may not grip smaller wires securely. For crimp connectors, use the specified tool and verify the crimp with a gentle pull test. For fixed mains wiring, follow applicable electrical codes and have uncertain work checked by a qualified electrician.

Then consider the installation environment. A dry junction box has different needs from a damp outdoor enclosure or a machine exposed to vibration. Moisture changes things. Use a connector and enclosure rated for the exposure, and check the temperature range near motors, heaters, or other heat sources. In a vibrating cabinet, a locking connection or properly secured terminal may hold more reliably than a loose-fitting splice. Also leave enough room for bends; sharply folded wires can stress the connection. In practice, small differences between wire types can complicate selection, so read the connector’s specifications rather than relying on color or shape alone.

Top 10 Wire Connector Types: Choosing for the Application and Environment

This qualitative guide compares common connector types across three selection factors. Scores are relative screening aids, not standardized ratings. Actual performance depends on the specific product, wire, installation, and conditions; check the manufacturer’s specifications and applicable electrical codes.

Installation and Safety Checks for Reliable Connections

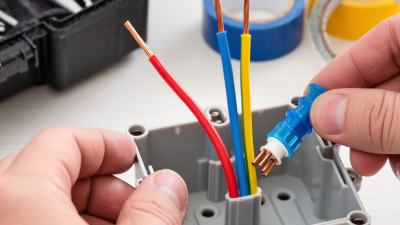
Before touching a wire connector, switch off the circuit and verify the conductors are de-energized with a suitable tester. A wall switch alone is not proof. Match the connector to the wire gauge, conductor material, and number of wires. Solid and stranded conductors may need different connector styles. Check the connector’s instructions rather than guessing from its size. Small detail. Big consequence.

Strip insulation to the specified length, keeping the copper strands intact. Too little exposed wire can prevent a secure contact; too much can leave copper visible outside the connector. Insert each conductor fully, then give it a gentle pull. It should not slide out.

Inspect the connection under good light for loose strands, cracks, or exposed copper. Even careful work can feel finished too soon. Place connections inside an appropriate electrical enclosure, away from sharp edges and strain. Avoid forcing several wires into a connector that is not rated for them. If a connection feels loose, warm, or difficult to identify, stop and have a qualified electrician assess it before power is restored.